 by
by 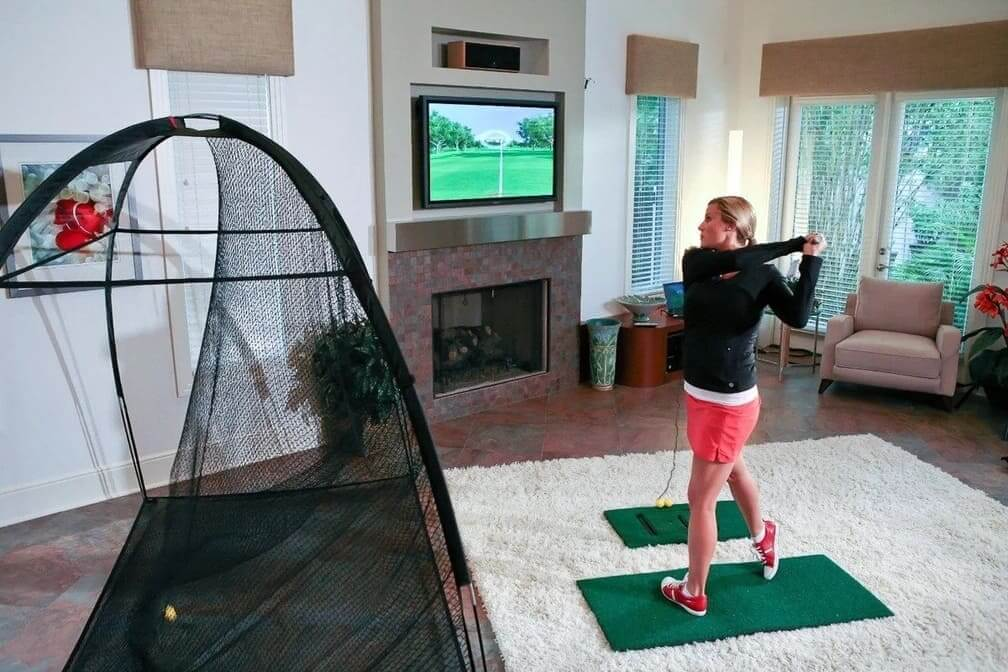
Let’s face it—top-tier golf simulators with massive screens, commercial-grade launch monitors, and ultra-realistic software can come with price tags well into the five-figure range. But the truth is, you don’t need a luxury setup to improve your game. If you’re working with a tighter budget, there are still effective ways to build a simulator experience at home without sacrificing meaningful results.
With the right approach, smart gear choices, and a focus on essentials, you can practice with purpose and track your progress—all without emptying your bank account.
Start With Your Primary Goal
Practice vs. Entertainment
Before diving into specific tools or configurations, get clear on your main reason for building a simulator. Are you looking to sharpen your swing mechanics? Dial in your distances? Or are you hoping to play simulated rounds for fun?
Knowing your “why” will guide what you really need—and help you avoid overspending on features that sound impressive but don’t actually support your goals.
Use a Portable Launch Monitor Instead of a Full System
Affordable Accuracy in a Compact Package
One of the most expensive components of a premium simulator is the launch monitor. However, there are compact, budget-friendly options on the market that still provide reliable swing and ball data. These portable devices often measure ball speed, carry distance, launch angle, and spin—plenty for most players to make consistent improvements.
When building a golf simulator for home on a budget, start with a quality entry-level launch monitor. Many of these units pair with apps or basic software platforms that allow you to analyze data and even simulate shot trajectories.
Swap the Impact Screen for a Practice Net
Save Space and Cash
High-end simulators usually come with full enclosures and high-impact screens, which are great for visuals—but also add to the cost. A more budget-conscious option is to use a sturdy hitting net. However, golfers who want a more immersive and secure setup can explore inexpensive golf simulator enclosures, which offer durability, enhanced safety, and a professional feel without the premium price tag. Not only are these solutions cost-effective, but they also help create a realistic indoor practice environment.
Pair your net with a monitor or tablet to view your shot data, and you’ve got yourself a simplified, effective simulator setup.
Use a TV or Tablet Instead of a Projector
Functional and Flexible
While a ceiling-mounted projector can create a more immersive feel, it’s not necessary for everyone—especially if you’re watching your budget. A flat-screen TV or tablet placed near your hitting zone can still display data, virtual ranges, or ball flights clearly enough for productive practice.
This is a great way to keep costs low while still enjoying the benefits of visual feedback.
Look for Free or Low-Cost Software Options
Don’t Pay for What You Don’t Use
Many beginner golfers make the mistake of spending hundreds on simulator software subscriptions when they’re not even using most of the features. Look for launch monitors that come with basic software or allow free app access. These versions often include driving ranges, shot tracking, and club comparisons.
If your main focus is swing improvement, basic data and video analysis may be all you need to get started.
Choose a Durable Budget Hitting Mat
Protect Your Body and Your Floor
While it’s tempting to cut corners on the hitting mat, it’s one of the few components that directly affects your swing feel and physical comfort. A poor mat can lead to joint pain or poor turf interaction, while a decent-quality option still fits most budgets.
Look for budget mats that include replaceable hitting strips or foam layers for shock absorption. They’ll last longer and feel much better during repeated sessions.
Repurpose a Small Room or Garage
Maximize What You Already Have
You don’t need a dedicated golf room with 10-foot ceilings to make a simulator work. Many golfers set up in garages, spare bedrooms, or even living rooms. Use retractable nets and roll-up turf to convert a shared space into a training area when needed.
Even if you can’t swing a driver comfortably indoors, focusing on wedges and short irons in a compact setup still provides tremendous value.
Upgrade Slowly Over Time
Start Smart, Then Expand
Instead of going all-in on a full system, start with core pieces: a launch monitor, net, and mat. Once you’ve used the setup consistently and know what you want more of—whether it’s course play, advanced metrics, or a visual upgrade—you can add components as your budget allows.
Many golfers find that their skills and needs evolve after regular use, making it easier to justify targeted upgrades rather than overpaying upfront.
Bonus Tip: Watch for Sales, Bundles, and Secondhand Deals
Stretch Your Budget Further
Keep an eye out for package deals that bundle hitting mats, nets, and launch monitors at a discount. Additionally, consider gently used gear from other golfers upgrading their setups. Just make sure any secondhand electronics come with proper documentation, functionality checks, and ideally, transferable software licenses.
With a little patience, you can find high-quality components at significantly reduced prices.
Conclusion
A premium simulator may be the dream, but it’s not the only path to better golf. With the right combination of budget-friendly tools and thoughtful setup, you can create a highly effective golf simulator for home that delivers real results. By focusing on core features, maximizing your existing space, and upgrading gradually, you’ll get all the game-improving benefits—without the premium price tag.